Roof Vent Installation Services for Property Owners
This page helps property owners learn about roof vent installation services and connect with local contractors who perform the work.
- - Residential homeowners seeking to improve attic ventilation and energy efficiency.
- - Commercial property managers needing reliable roof vent installation for large-scale buildings.
- - Contractors looking to connect with local specialists for professional roof vent services.

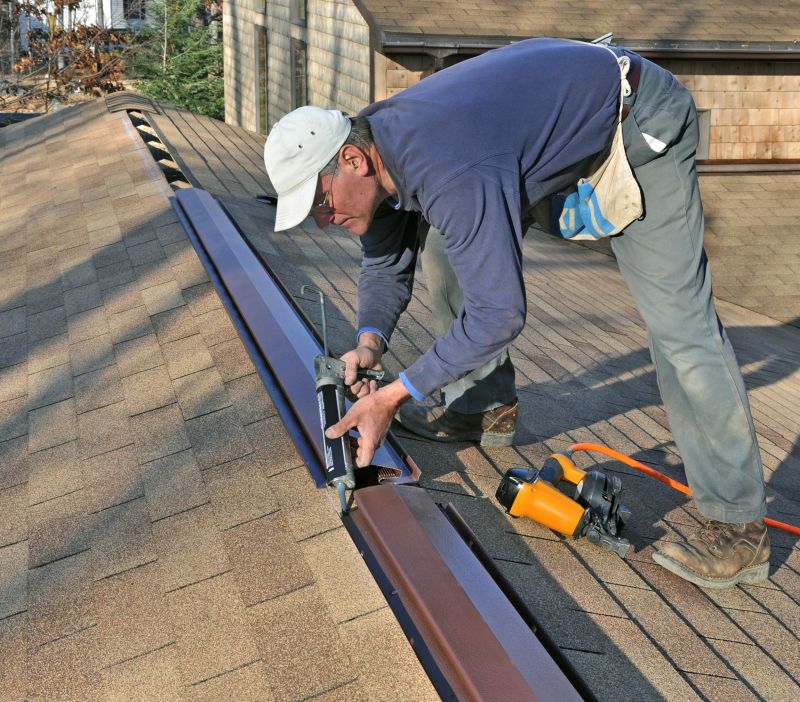

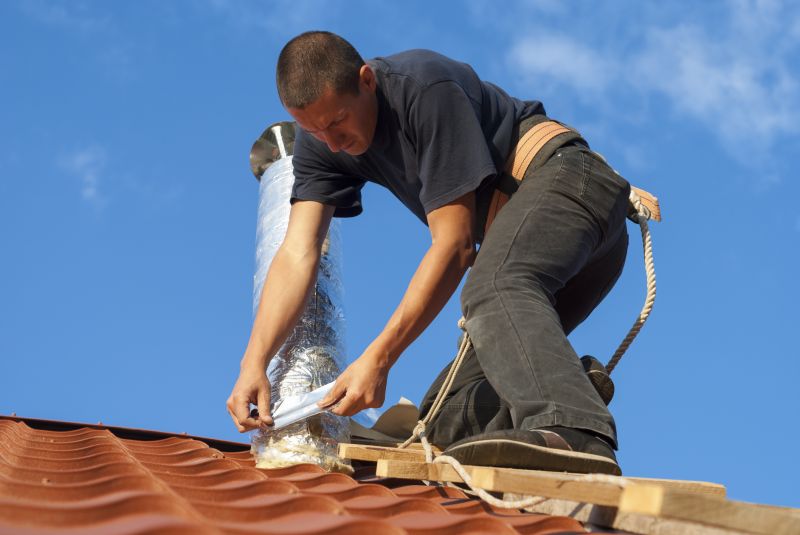
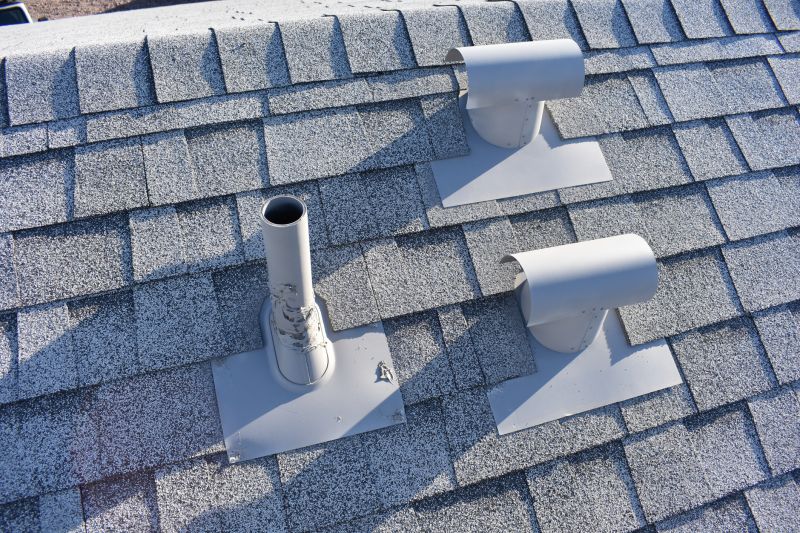
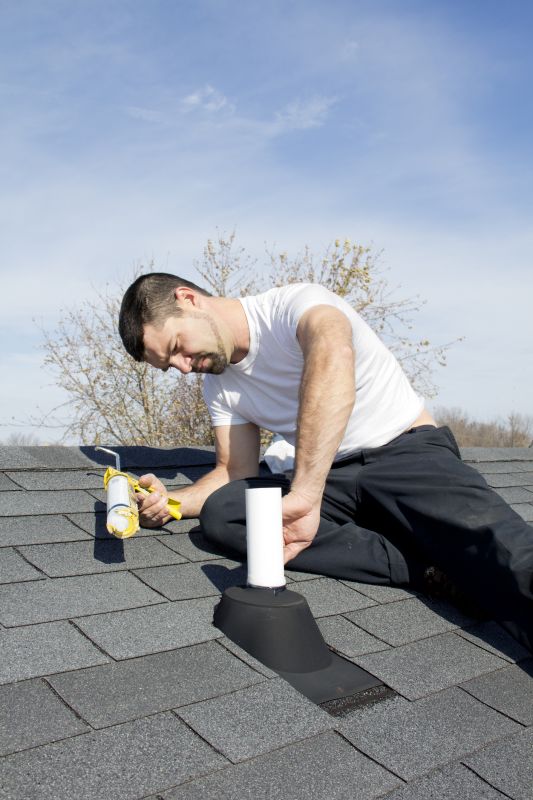
Roof vent installation services are essential for maintaining proper attic ventilation, which can help regulate temperature and moisture levels within a property. Local contractors specializing in this work typically handle tasks such as assessing the existing roof setup, selecting appropriate vent types, and ensuring proper placement for optimal airflow. Property owners often seek out these services when upgrading or replacing outdated vents, addressing issues like excessive heat buildup, moisture problems, or the need for improved energy efficiency.
Connecting with experienced local service providers can make the process of installing roof vents more straightforward. These professionals bring knowledge of different vent options and installation techniques suited to various roof types and structures. When choosing a local contractor for vent installation, property owners can expect a practical approach focused on effective, durable solutions that fit the specific needs of their property.
This guide provides helpful information to understand the essentials of roof vent installation and what to consider when planning a project. It assists in comparing local contractors and service providers to find the right fit for specific needs. The content is designed to help visitors gather the basics and make informed decisions before connecting with local professionals.